Using Nik Complete – Tonal Contrast Filter to Increase Drama in Skies and Clouds
As I stated previously, one of my favorite plugins for Photoshop is the Nik Software Complete Collection. Within that collection, the Tonal Contrast is one of my most-used filters for adding a bit of contrast to select ranges within the photograph. Without a doubt, it is used most frequently on punching up skies and specifically clouds. Normally, my goal is to maintain a realistic and believable photograph, with more definition in the clouds, which is generally how I remember the scene. Below is a little tutorial on how I effectively utilize this tool in this manner.
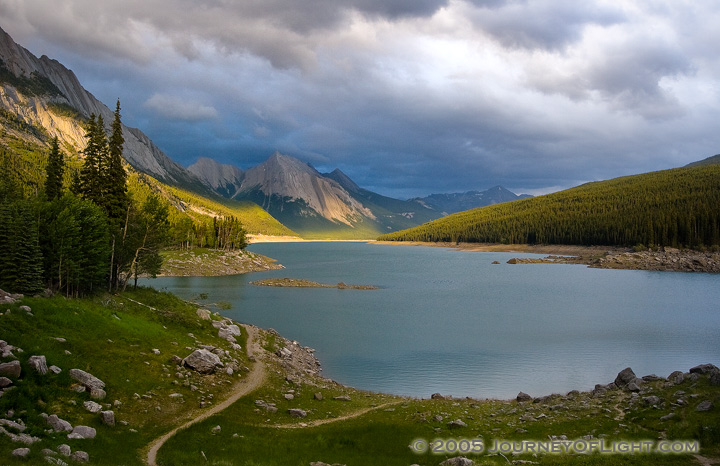
Beginning Image:
The Tonal Contrast filter is one of the last steps in my workflow. Before I use this filter, I adjust the global contrast, colors, saturation, and exposure. When adding contrast to an image, it is good to note that this sometimes has the effect of an increased of perceived saturation. If I know that I will be adding some contrast to the image, I tend to keep my saturation and vibrance sliders on the conservative side. When dealing with skies and clouds most of the contrast we want to affect will be in the highlight zone with some falling into the mid-tone zone. The majority of the adjustments will be made by tweaking those two sliders.
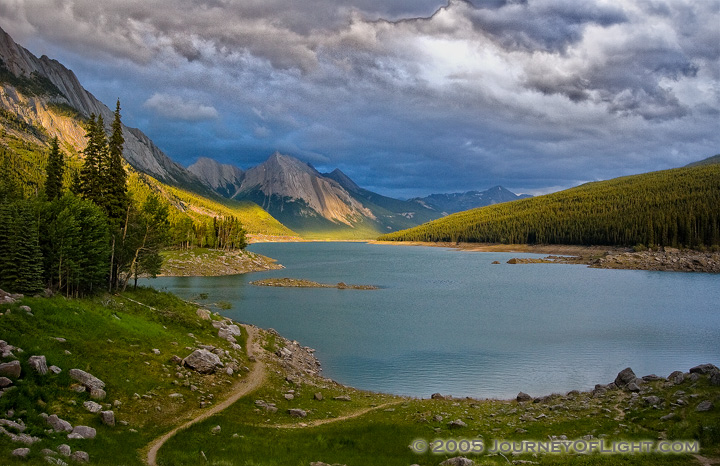
Too Much:
Too much and the image begins to turn into a watercolor on acid. Although, this maybe an effect that is pleasing to some, in most instances it can be taken too far. In this image I pumped up the highlight slider to around “60” and the mid-tone slider around “30”. The edges in the sky start to bleed out and cause some very defined lines. Since this result falls short of my goal, I am going to bring the settings down.
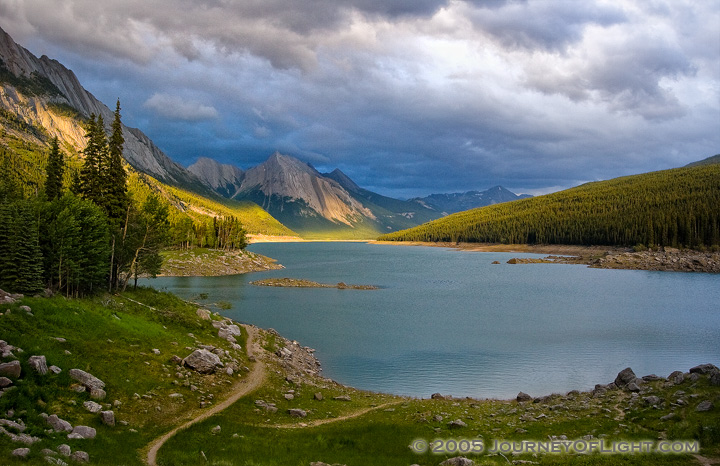
Just Right:
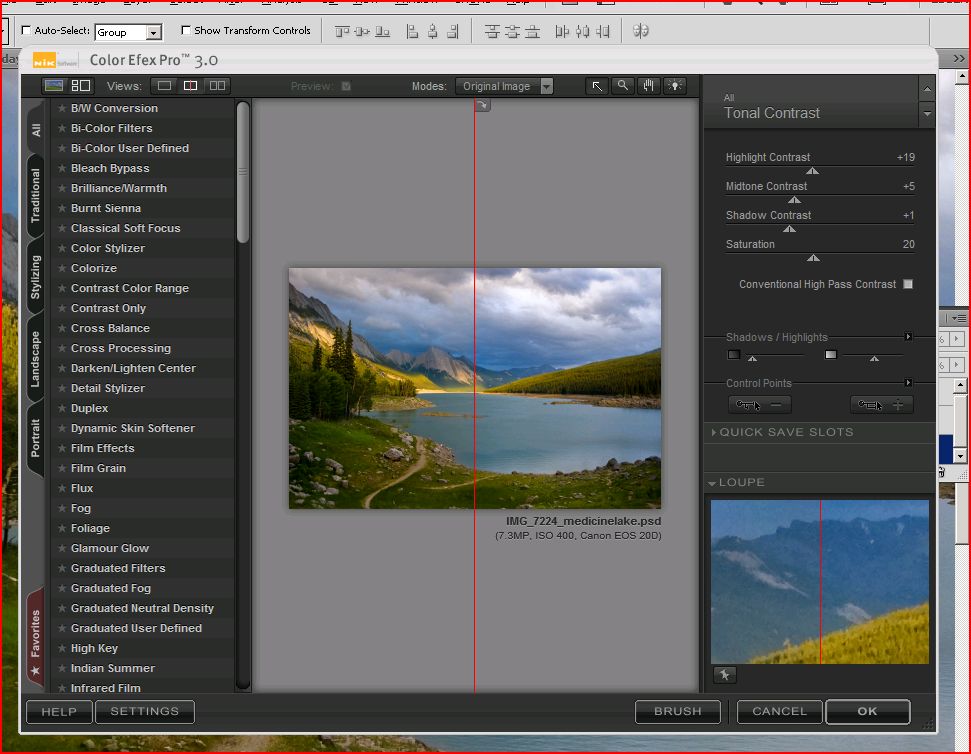
Here, I have brought my highlight contrast levels down to “19”, my mid-tone contrast settings are set around “5”, and my shadow settings are currently at “1”. Additionally, I have protected my highlights by using the shadows/highlight slider and bumping the highlights to about the half-way point. Here, the clouds have additional contrast, the rest of the scene has a tad more contrast, but nothing that would make it unrealistic. As I remember that day, there were some crazy clouds and weather going on, and now the end photo better brings out that experience.
Screenshot of the Final Settings:
Technical Details:
Canon 20d, 10-22 ef-s lens @ 22mm, f/7.1, 1/100 sec.
Medicine Lake, Jasper National Park, Alberta, Canada
Nik Software Complete Collection – Tonal Contrast Filter


