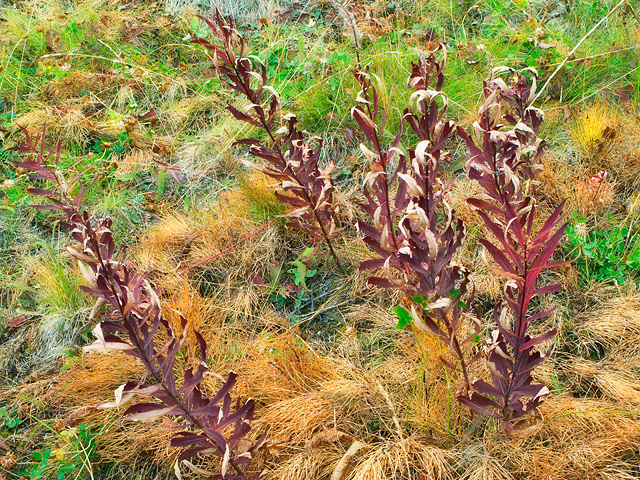
Easy Techniques for Dripping Fall Colours by Darwin Wiggett
This article is courtesy a guest columnist, Darwin Wiggett. Darwin is an outstanding photographer well known for his nature and landscape images of Canada. He also leads excellent workshops in the Canadian Rockies which I have had the joy of attending. I highly recommend that you check out his website at http://www.darwinwiggett.com and his blog at http://www.oopoomoo.com.
Easy Techniques for Dripping Fall Colours with Digital Cameras
by Darwin Wiggett
I often get comments about the rich and vivid colours in my photos. Many people assume I simply push the saturation levels in Photoshop to get my signature saturation. In fact my vivid colour comes mostly from in-camera techniques rather than post-processing fixes. People are surprised to hear that I never use the saturation slider in Photoshop! Here are a few tips to help you create vivid colour every time you press the shutter button.
The Big Secret
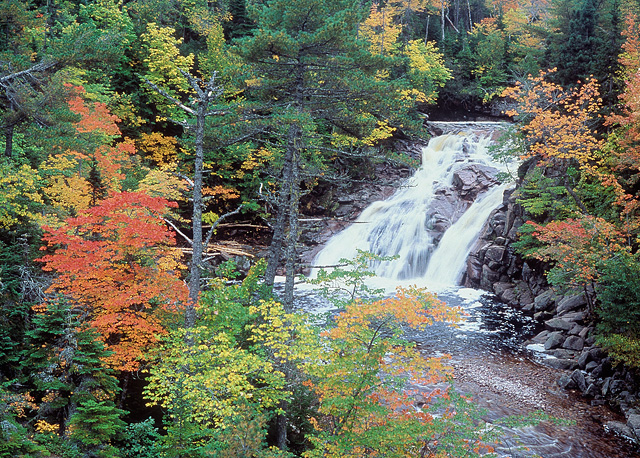
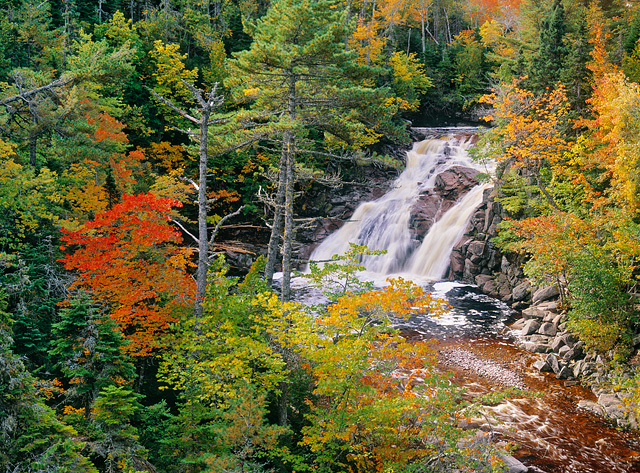
Want to know what my biggest secret is for great colour? It is probably something you already own but simply do not use enough – it is the polarizing filter. Nothing helps pump up colour more than this ‘old school, been around forever’ filter. A polarizer works by removing reflective highlights from any reflective surface (leaves, water, rocks etc.). The great thing about a polarizer is that you just spin it around on the front of your lens until you see the effect you want. Where many photographers go wrong is that they assume polarizers only work with sunny days and blue skies. In fact one of the best times to shoot colour is on overcast days where a polarizer will kill the muddy grays and punch up colour in really pleasing ways. For example compare photo 1a of Mary-Ann falls in Nova Scotia taken without a polarizer with photo 1b which was taken with a polarizer – I am sure you’ll agree that there are huge differences and that a polarizer needs a place in your bag for optimal colour!
And if you think you can replicate the look of a polarizer after the fact using software, you can’t! No software can do what a polarizer does in front of the lens. This is one filter that is still necessary even in the digital era. Personally, I recommend a polarizer that has a warming filter built in like Singh-Ray’s LB warming polarizer because overcast skies and shaded foregrounds have a strong blue cast that can be neutralized with a warming polarizer. Want better colour, get a polarizer on your lens! In fact I keep a polarizer on my landscape lenses all the time – 90% of the time they have a positive effect!
After the Rain
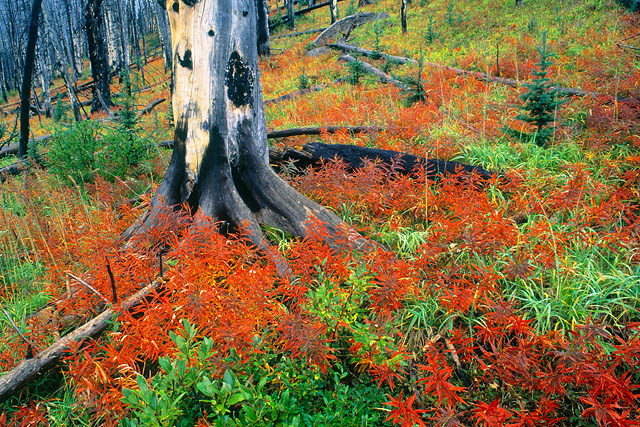
Speaking of polarizers and overcast light, if you truly want dripping wet colours the absolute best time to shoot is just after a rain. The colours of wet landscapes are super vivid and combining these ‘punchy’ conditions (wet subjects in even light) with a polarizer will give you that ‘wet paint’ look that is so appealing. For example, in photo 2, the wet conditions and a polarizer really gave the added punch needed to make the scene come alive. Whenever it rains, I try to sneak out for a photo session with my polarizer because I am guaranteed great colour!
Washed out Skies
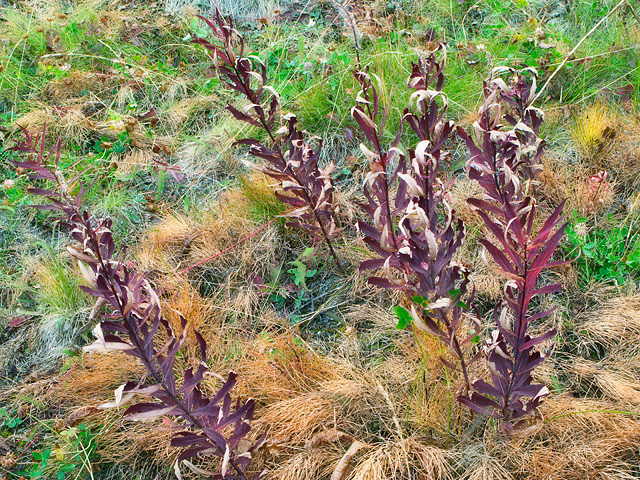
Another colour killer is the washed out white sky. Nothing will murder colours faster than if you include a bright sky in your photo. The solution is simple; ‘when white, shoot tight’. On overcast or grey days the easiest solution to retain great colour is to eliminate the sky. Once the glaring sky is gone the colours will just seem to jump out (photo 3).
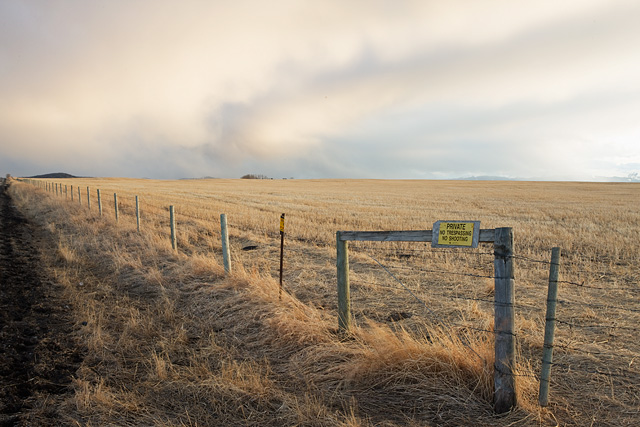
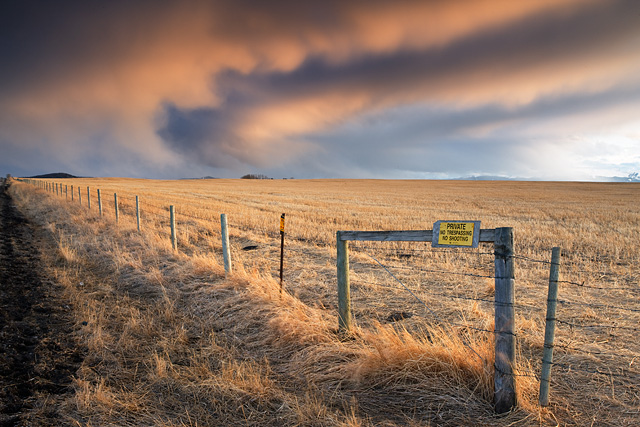
Or if your sky is really interesting and has nice colours then you will probably want to include it in the photo. The problem is that skies are often so much brighter than the landscape that even a colourful sky washes out when you photograph both the land and sky together. For example in Photo 4a, the Chinook Arch over the prairie pasture loses all colours when the landscape is properly exposed. To get the colour back I used a neutral density graduated filter to darken the exposure over the sky so it looked more natural (photo 4b). If you do not know what a neutral density graduated filter (ND grad for short) is or how these filters work, then visit my website for instructional articles on filters – www.darwinwiggett.com. The point here is that if your skies are washed out, the colours in the rest of your photo will look washed out. Eliminate the sky or darken it in-camera with a grad filter to get the best colours possible.
A ‘Flare’ for Colour
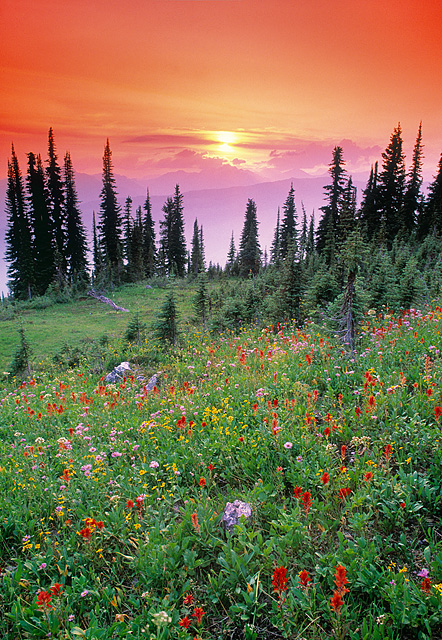
If you really want punchy colours try shooting your landscape in strong direct backlighting. Backlighting works well with semi-translucent objects such as leaves or flowers by suffusing the subject with light that seems to come from within. The problem with backlighting is that strong light coming into the lens can cause flare (a scattering of light) which will degrade the images colour. To avoid flare use a lens hood, or shield the lens with your hand to prevent direct light from hitting the front of the lens. Take any unnecessary filters off your camera lens (UV, haze, or skylight filters) because the more glass in front of your lens the worst the flare will become. Also you can eliminate the sky or the pin point source of light (usually the sun) from your photos to further reduce flare. But if you want to include the sun and sky in your photo then try to have the sun more towards the middle of the frame or have it partly obscured by a branch or a cloud so it flares less. Neutral density graduated filters are the one filter that can help reduce glare in back lit scenes. By darkening the bright sky the filter reduces the amount of stray light scattered in the lens and makes the scene more colourful. For example, in photo 5, I waited until the sun was partially obscured behind a cloud and I also used an ND grad filter to reduce the brightness of the sky resulting in rich colour that literally pops off the photo.
Cloudy White Balance
A simple trick with digital cameras for better colour is to set your camera for ‘cloudy’ white balance for more pleasing colour. Warm colours are more inviting and seem ‘cheery’ compared to cool or neutral colours, and the cloudy setting will give you warm colours. Even if you shoot RAW where you can change the white balance in post-processing, using ‘cloudy’ will make your images ‘pop’ on your camera LCD making it feel like you are making great images. If you shoot JPEGS where choosing the right white balance needs to be done in-camera, then try comparing ‘daylight’ or ‘sunny’ white balance (photo 6a) with ‘cloudy’ white balance (photo 6b) of the same scene. I’ll bet you prefer ‘cloudy’ in 80-90% of the situations and your JPEG photos will look more colourful in the end.
Most of my great colour comes from these tips I use regularly in the field. If you can get the best colour possible in-camera, then it will take very little processing to make your images look stunning. It is not what you do after the capture that is so critical, it is more what you do at the time you press the shutter.
